Custom environments
If default environments don't meet your project's requirements, you can create custom environments in Deepnote. These can be either imported into your project or defined directly in Deepnote itself.
How does it work?
At its core, each project's runtime environment is a Docker image, giving you extensive customization options. Anything you can define in a Dockerfile can be implemented in your Deepnote project. This is particularly powerful for:
- Building libraries from source with specific versions
- Installing custom binary dependencies
- Managing Python packages through requirements.txt
Custom environments are especially valuable for complex projects where dependency installation is time-consuming and needs to be reused across multiple notebooks.
Requirements
We recommend building your custom Dockerfile on top of our deepnote:python3.x base image to ensure compatibility with all Deepnote features. If you're creating an environment from scratch, your image must meet these requirements:
- Python (versions 3.10-3.13) installed and accessible via the
pythoncommand - Built for the
linux/amd64platform (M1 Mac users: use-platform linux/amd64flag) - Functioning
pipinstallation that can install packages to Python's path bashandcurlinstalled
Package Installation
All pip installations must use our constraints file:
pip install tensorflow -c https://tk.deepnote.com/constraints<PYTHON_VERSION>.txt
This constraints file helps prevent library conflicts and ensures compatibility with Deepnote's features like the variable explorer and interactive DataFrame views. Don't worry about installing additional dependencies for these features—we'll automatically detect and load them at runtime.
How to create a custom environment?
Local Dockerfile
You can customize your environment by placing a Dockerfile in your project's root directory. Deepnote handles all the image building and hosting for you.
The most common approach is to extend one of our default environments. For example, here's how to add OpenCV dependencies to our Python 3.11 base image:
FROM deepnote/python:3.11

RUN apt update && apt install -y ffmpeg libsm6 libxext6
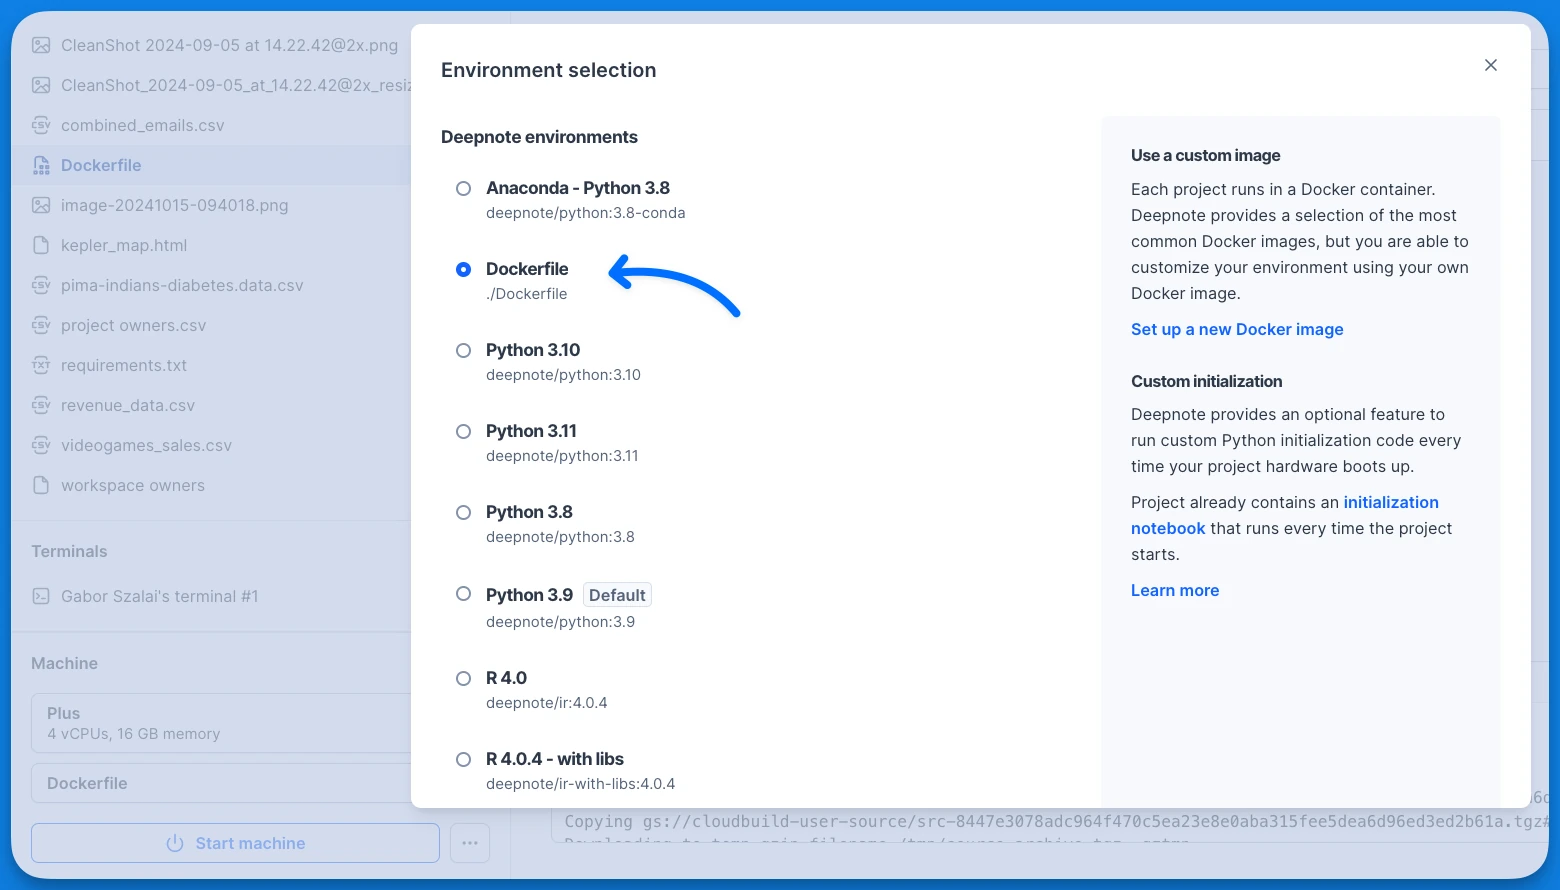
To use your local Dockerfile, simply select Dockerfile from the Environment dropdown.
When building from a local Dockerfile, only the following Docker instructions are supported:
- FROM: Start with any public base image or Deepnote environment
- RUN: Execute commands as root to install libraries and tools
- ENV: Set environment variables or define default Jupyter kernels
Local Dockerfile builds are available on Team and Enterprise plans with the following constraints:
- Maximum build time: 60 minutes
- For longer builds, we recommend building outside of Deepnote (see below)
Hosted docker image
Public images
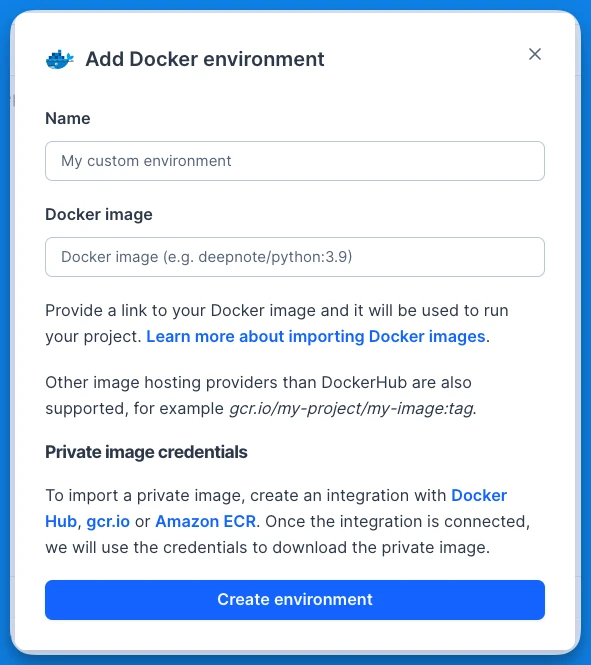
You can use any publicly available Docker image from repositories like Docker Hub, giving you access to thousands of pre-configured environments.
Private Repositories
Team and Enterprise users can connect to private image repositories from:
To use private repositories:
- Create an integration with your repository provider
- Add your credentials
- Connect the integration to projects where you need your private images
Keep environment settings
When you duplicate a project, all environment configurations come with it - saving you from setting everything up again. Note: This doesn't apply when duplicating to a different workspace. In that case, you'll need to reconfigure your environment.
Pro tip: Need the same environment across many projects? Create a project template - it's the most efficient way to standardize your setup.