dbt
dbt empowers analytical engineers to transform data within their data warehouses by simply writing select statements. It automatically converts these select statements into tables and views.
dbt specializes in the Transform step of the ELT (Extract, Load, Transform) process. While it doesn't handle data extraction or loading, it excels at transforming data already present in your warehouse.
Integrating dbt with Deepnote
In Deepnote, you can use the following adapters for your dbt development workflow:
- Snowflake
- BigQuery
- Redshift
- Postgres
- Databricks
- Clickhouse
Configuring dbt
To set up dbt with Deepnote, follow these steps:
-
pip install dbt-core dbt-[adapter] -
Create a new init notebook and add
!export DBT_PROFILES_DIR=/work/into new block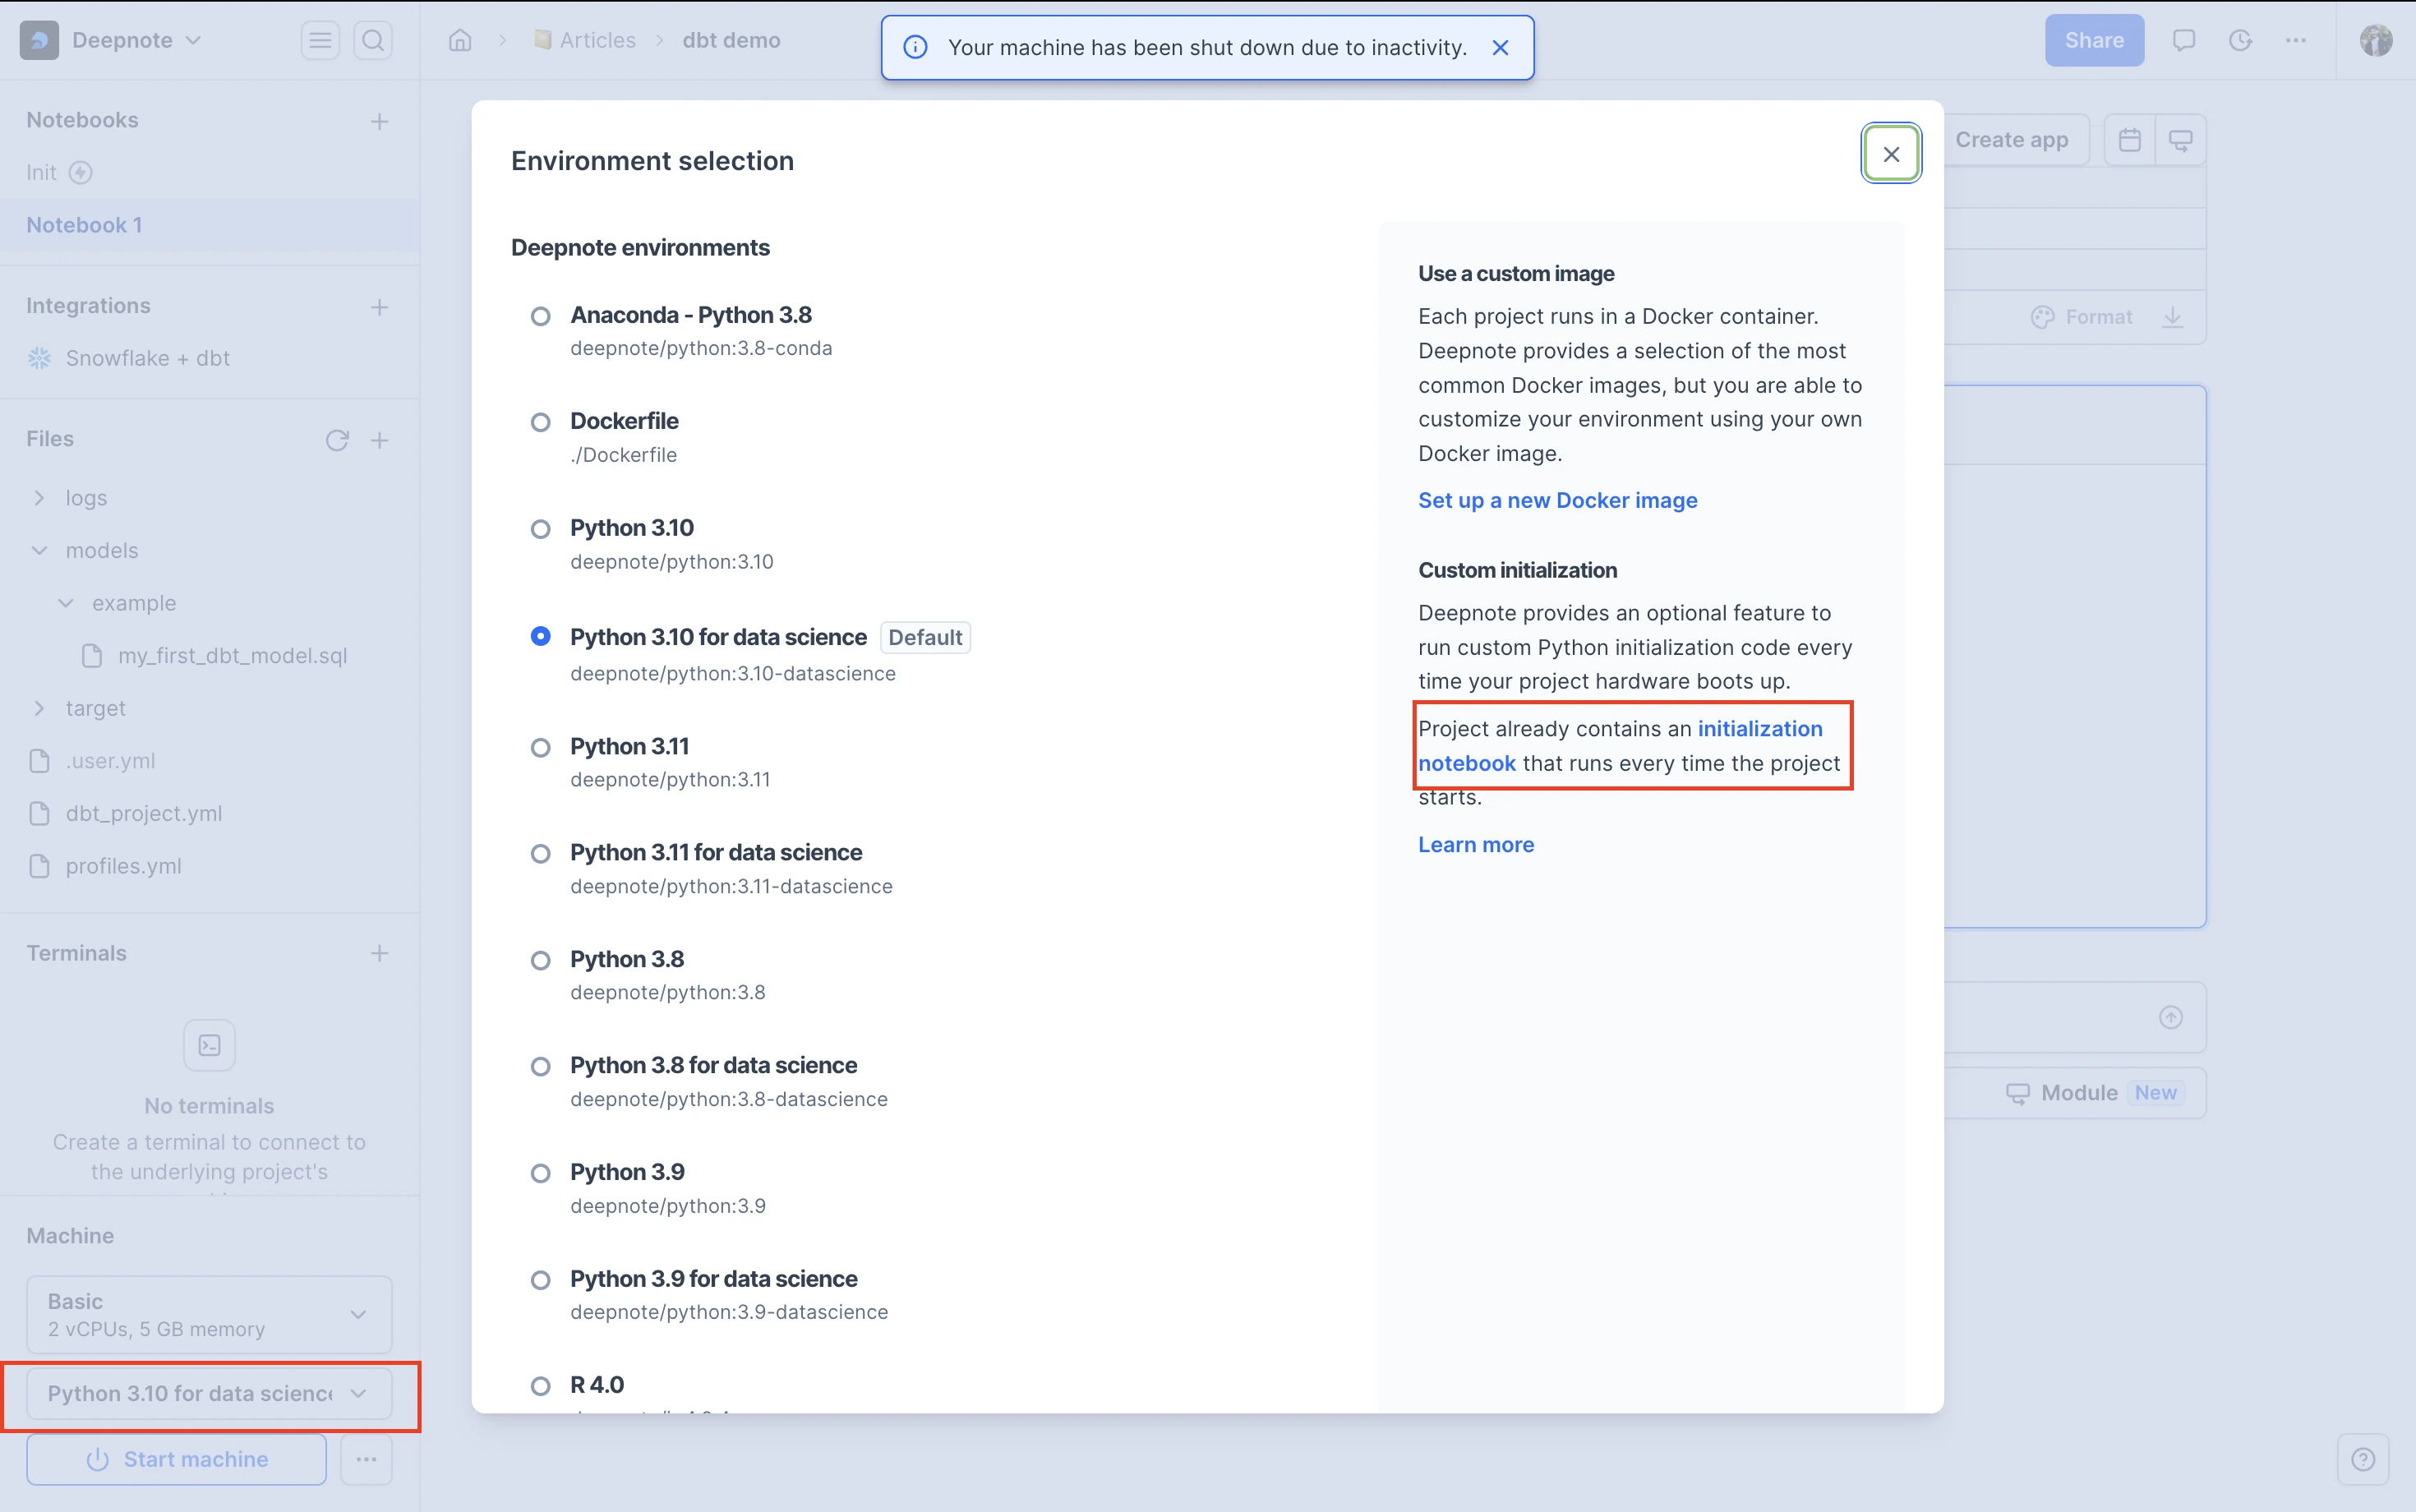
-
Create profiles.yml and add your environment variables there, e.g. snowflake
default: outputs: dev: account: "{{ env_var('SNOWFLAKE___DBT_ACCOUNTNAME') }}" user: "{{ env_var('SNOWFLAKE___DBT_USERNAME') }}" password: "{{ env_var('SNOWFLAKE___DBT_PASSWORD') }}" database: "{{ env_var('SNOWFLAKE___DBT_DATABASE') }}" role: "{{ env_var('SNOWFLAKE___DBT_ROLE') }}" warehouse: "{{ env_var('SNOWFLAKE___DBT_WAREHOUSE') }}" type: snowflake schema: TYPEFORM target: dev -
create dbt_project.yml and add your project info, e.g.
# Name your project! Project names should contain only lowercase characters
# and underscores. A good package name should reflect your organization's
# name or the intended use of these models
name: 'default'
version: '1.0.0'

# This setting configures which "profile" dbt uses for this project.
profile: 'default'

# These configurations specify where dbt should look for different types of files.
# The `model-paths` config, for example, states that models in this project can be
# found in the "models/" directory. You probably won't need to change these!
model-paths: ["models"]
analysis-paths: ["analyses"]
test-paths: ["tests"]
seed-paths: ["seeds"]
macro-paths: ["macros"]
snapshot-paths: ["snapshots"]

clean-targets:         # directories to be removed by `dbt clean`
  - "target"
  - "dbt_packages"

# Configuring models
# Full documentation: https://docs.getdbt.com/docs/configuring-models

# In this example config, we tell dbt to build all models in the example/
# directory as views. These settings can be overridden in the individual model
# files using the `{{ config(...) }}` macro.
models:
  test:
    # Config indicated by + and applies to all files under models/example/
    example:
      +materialized: view
Example usage
In our example notebook we demonstrate how to use dbt in Deepnote to analyze coffee preferences by data role using the COFFEE_RESPONSES dataset. We automate data transformations and ensure data quality with scheduled tasks.
Creating models
We developed a model, coffee_preferences_by_role.sql, to identify the most popular coffee for each data role and calculate its order percentage. This simplifies complex SQL into reusable components. To run the model we use dbt run --models coffee_preferences_by_role or just simply dbt run . Here is an example usage
%%writefile /work/models/coffee_preferences_by_role.sql

WITH coffee_counts AS (
    SELECT
        data_role,
        ordered_coffee,
        COUNT(*) AS coffee_count
    FROM DEEPNOTE_DEVELOPMENT.TYPEFORM.COFFEE_RESPONSES
    GROUP BY data_role, ordered_coffee
),

ranked_coffees AS (
    SELECT
        data_role,
        ordered_coffee,
        coffee_count,
        ROW_NUMBER() OVER (PARTITION BY data_role ORDER BY coffee_count DESC) AS rank
    FROM coffee_counts
)

SELECT
    data_role,
    ordered_coffee AS most_popular_coffee,
    coffee_count,
    ROUND((coffee_count / SUM(coffee_count) OVER (PARTITION BY data_role)) * 100, 2) AS percentage
FROM ranked_coffees
WHERE rank = 1
Implementing tests
We created not_null_coffee_data.yml to validate our data, ensuring no nulls in key columns and unique entries per data role. To run the test we use dbt test
%%writefile /work/tests/not_null_coffee_data.yml

version: 1

models:
  - name: coffee_data
    tests:
      - not_null:
          column_name: data_role
      - not_null:
          column_name: ordered_coffee

  - name: coffee_preferences_by_role
    tests:
      - unique:
          column_name: data_role
      - not_null:
          column_name: most_popular_coffee
Organizing and cataloging
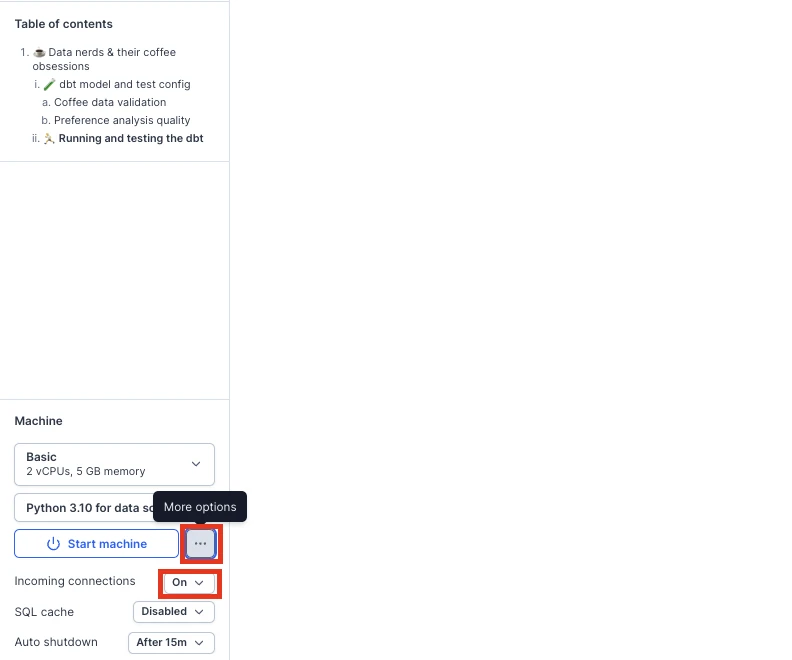
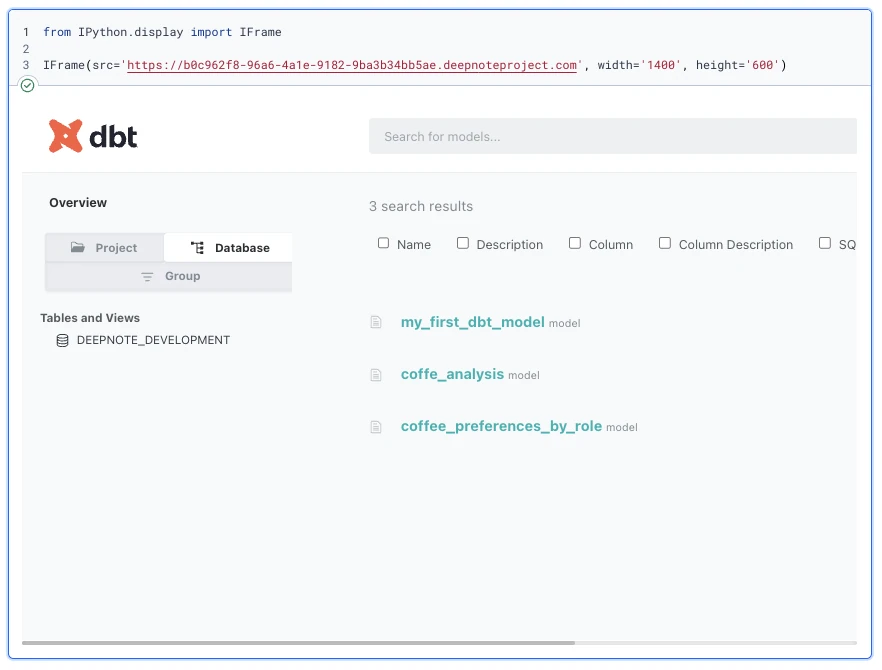
If you want to share your catalog and organize it with Deepnote you can run !dbt doc , then create streamlit of Flask app, if you want to use streamlit you can see the the example if you want use Flask you need to serve the 'index.html' on 0.0.0.0, then switch on incoming connection
Then you can share the url with your teammates or iframe it in the notebook.
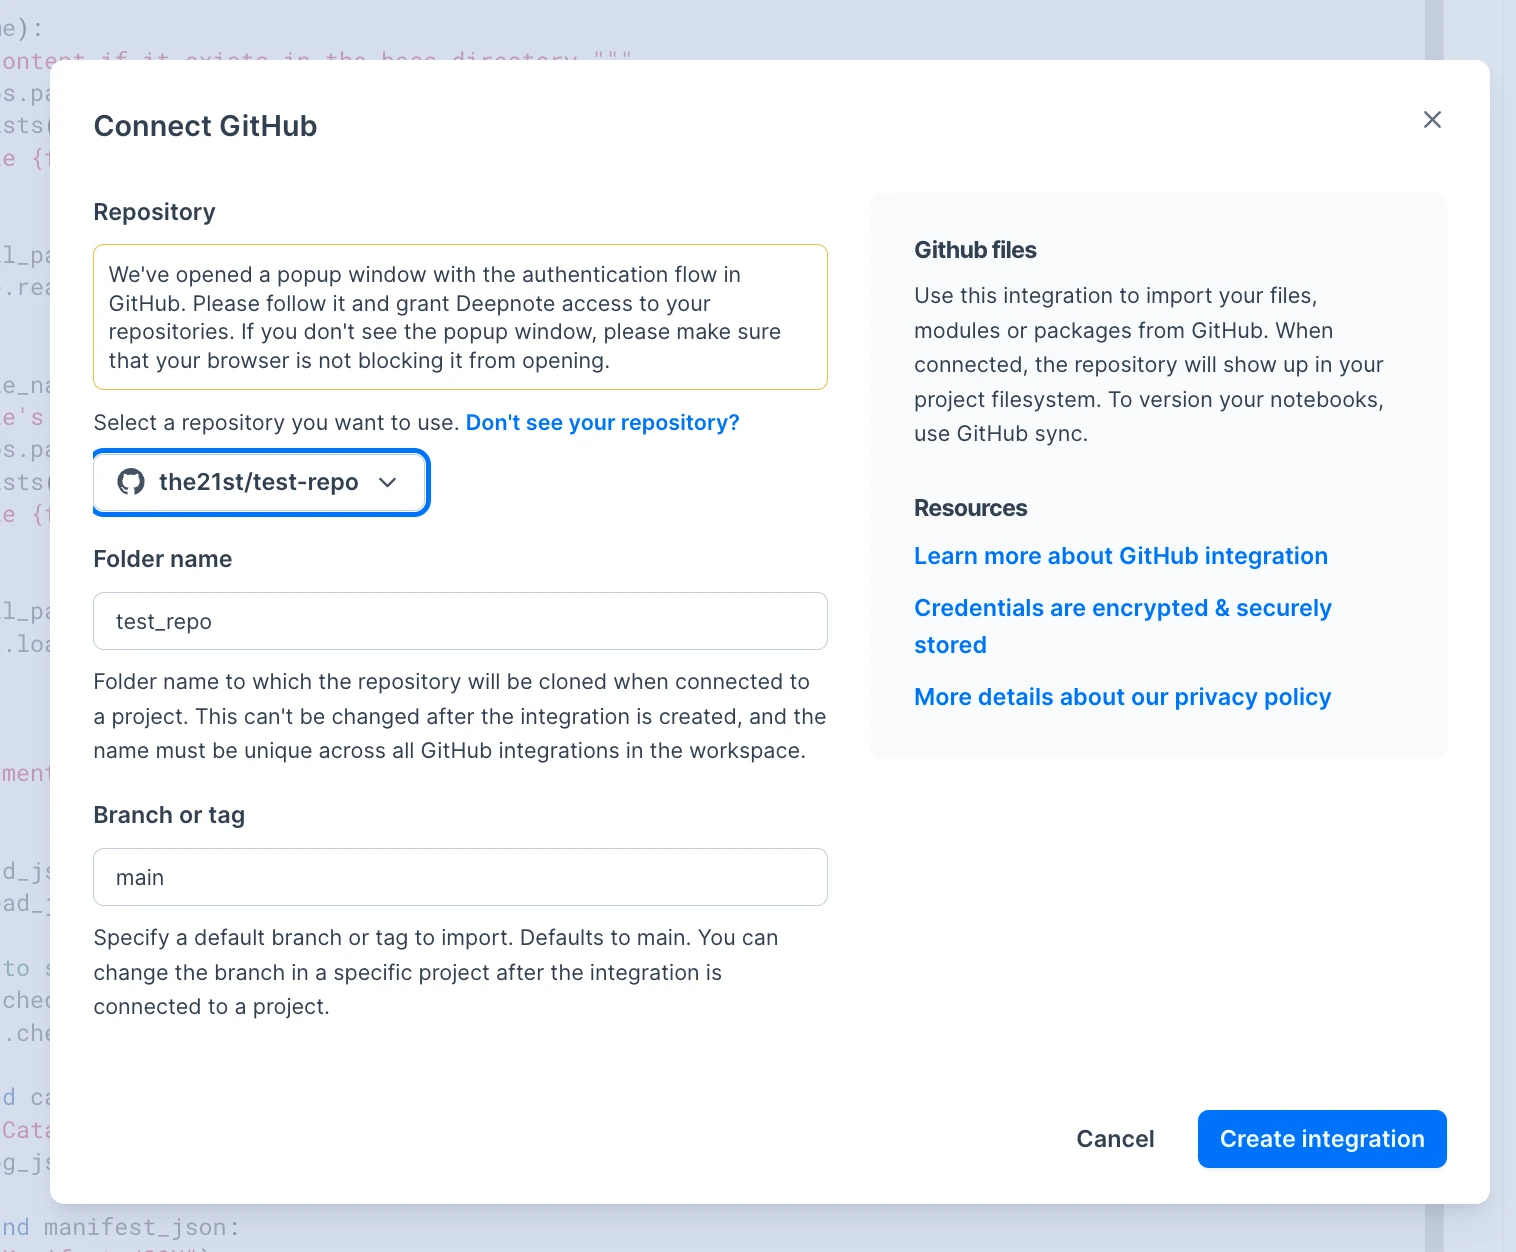
Github integration
If you are using Github for storing the models you can use Github integration, if wish to see how to set it up click here
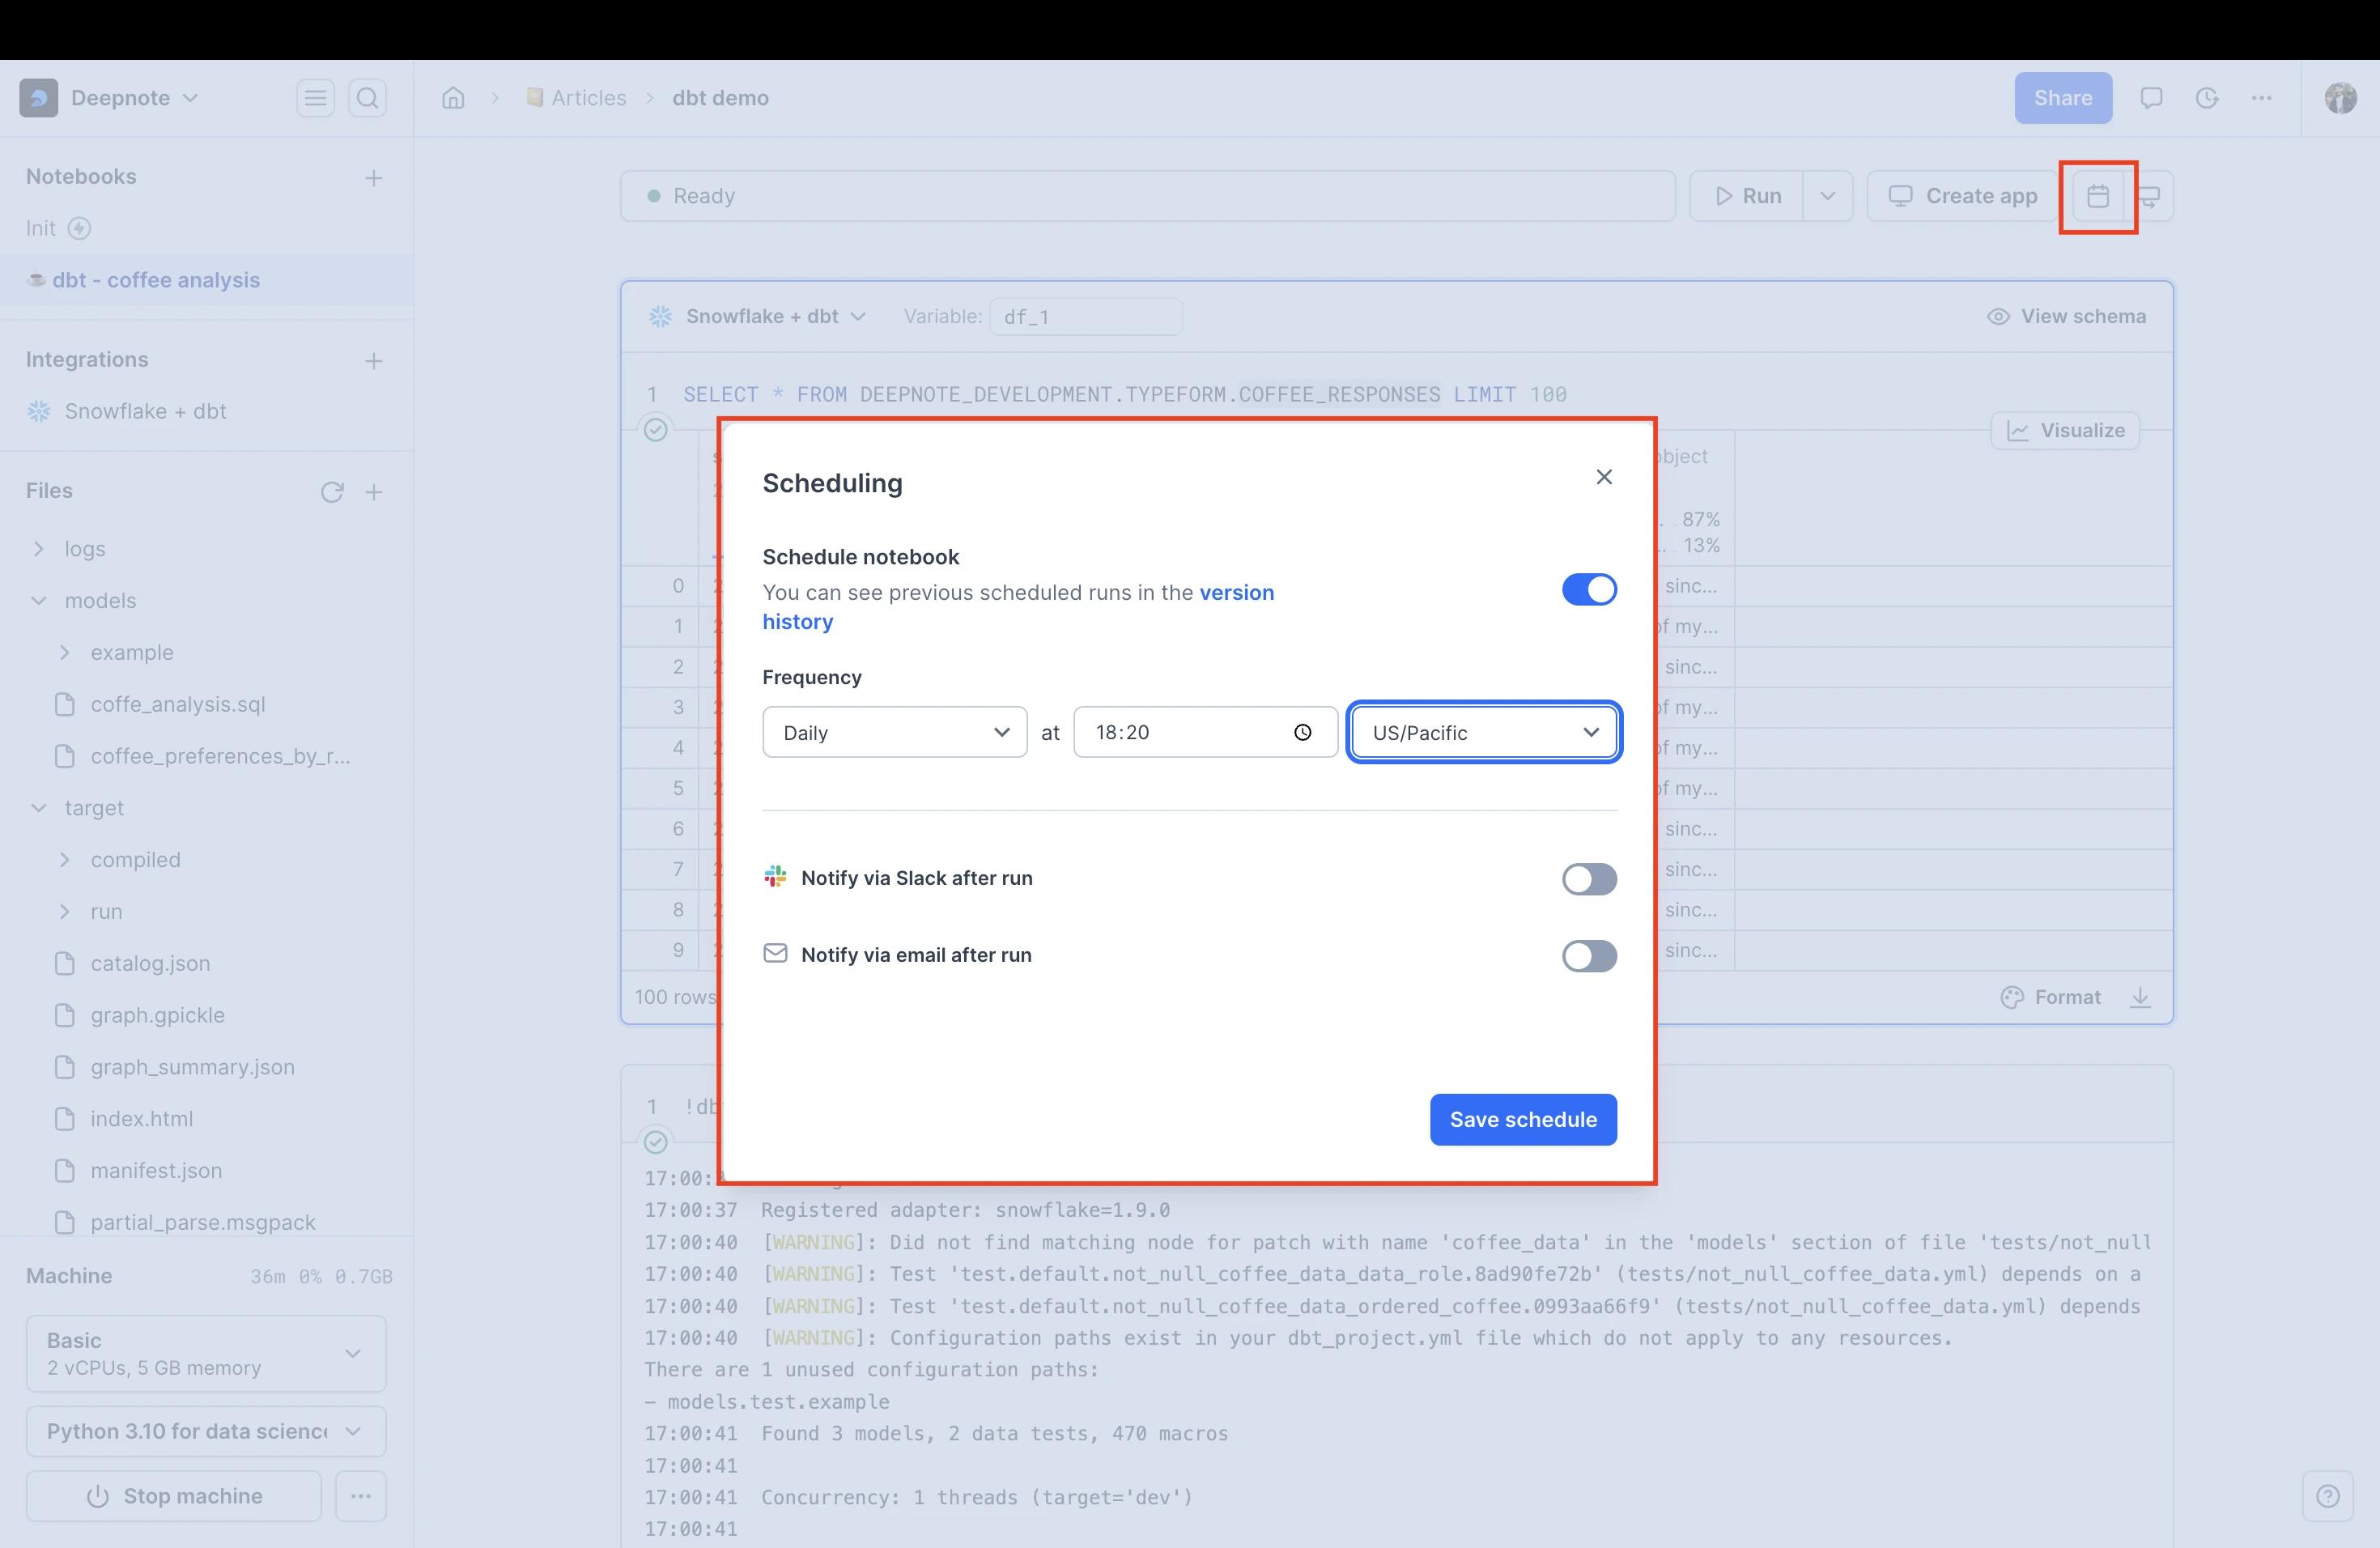
Scheduling and automation
- Automate execution: Use Deepnote's scheduled notebook to run dbt models and tests regularly.
- Continuous monitoring: Keep your data insights updated automatically.
- Advanced alerts: Use Deepnote's Slack integration to receive alerts if model tests fail.
Explore the complete models and tests in this project to see dbt in action. This example illustrates how dbt, combined with Deepnote, Snowflake and Slack integration empowers data teams to streamline data transformations and maintain data quality. By automating these processes, you can focus on deriving insights and making data-driven decisions efficiently.