Snowflake with Azure AD
Deepnote allows each user to authenticate to Snowflake using their own credentials.
Greater security with Azure AD authentication
With Snowflake and Azure AD authentication you can give every member of your Deepnote workspace their own set of credentials. You can ensure higher security by using short-lived tokens and enabling the use of multi-factor authentication. Follow the principle of least privilege and use granular access control for various Snowflake resources to ensure everyone can only access the data they need.
The integration leverages Snowflake's External OAuth with Azure AD.
How to set up the integration with Azure AD authentication
There are a number of steps to follow which will be described in the following sections. Some steps are optional and will be noted as such.
- Create Snowflake OAuth Resource application
- Create Snowflake OAuth Client application
- Collect Azure AD information for Snowflake integration
- Create Security integration in Snowflake
- Create Snowflake integration in Deepnote
Create Snowflake OAuth Resource application
- Navigate to the Microsoft Azure Portal and authenticate.
- Navigate to Azure Active Directory.
- Click on App Registrations & click on New Registration.
- Enter
Snowflake OAuth Resource, or similar value as the Name. - Verify the Supported account types is set to Single Tenant (My organization only).
- Click Register.
- In the Overview section, note the
ClientIDfrom the Application (client) ID field. This will be known as the<RESOURCE_ID>in the following steps. - Click on Expose an API.
- Click on the Set link next to Application ID URI to set the
Application ID URI. Accept the default value (it will look likeapi://${RESOURCE_ID}). - Optional: If you wish to only allow specific Snowflake roles to log in via Azure AD, create a scope for each role.
- Click on Add a scope to add a scope representing the Snowflake role.
- Enter the scope by having the name of the Snowflake role with the
session:scope:prefix. For example, for the Snowflake Analyst role, entersession:scope:analyst. - Select who can consent.
- Enter a display name and description for the scope and click Add Scope
Create Snowflake OAuth Client application
- Navigate back to App Registrations page and click on New Registration
- Enter a name for the client application such as
Snowflake OAuth Client. - Verify the Supported account types is set to Single Tenant (My organization only).
- Click Register. In the Overview section, copy the
ClientIDfrom the Application (client) ID field. This will be known as the<OAUTH_CLIENT_ID>in the following steps. - Click on Certificates & secrets and then New client secret.
- Select expiration. Warning: your Azure AD OAuth integration will stop working past the expiration date. Select Never expire if you want to avoid this, however, bear in mind the security considerations.
- Click Add. Copy the secret. This will be known as the
<OAUTH_CLIENT_SECRET>in the following steps. - Click on Redirect URIs and add a new Web Redirect URI for Deepnote
https://deepnote.com/auth/snowflake/azuread-callback - Click on API Permissions & Add Permission.
- Optional: Follow these steps if you chose to only allow specific Snowflake roles to log in via Azure AD (as noted in the section above).
- Select My APIs.
- Click on the Snowflake OAuth Resource that you created earlier.
- Click on the Delegated Permissions box.
- Check the permission related to the scopes that you wish to grant to this client.
- Click Add Permissions.
- Click on the Grant Admin Consent button to grant the permissions to the client.
- Click Yes.
Collect Azure AD information for Snowflake integration
- Navigate to the overview of the Snowflake OAuth Resource application you’ve created earlier.
- Click on Endpoints.
- On the right-hand side, note the URLs for OpenID Connect metadata and Federation Connect metadata.
- In a new browser window for the OpenID Connect metadata.
- Locate the
jwks_uriparameter and copy its value. - This parameter value will be known as the
<AZURE_AD_JWS_KEY_ENDPOINT>in the following configuration steps. The endpoint should be similar tohttps://login.microsoftonline.com/90288a9b-97df-4c6d-b025-95713f21cef9/discovery/v2.0/keys. - In a new browser window, open the Federation metadata document.
- Locate the
entityIDparameter in theXML Root Elementand copy its value. - This parameter value will be known as the
<AZURE_AD_ISSUER>in the following configuration steps. The entityID value should be similar tohttps://sts.windows.net/90288a9b-97df-4c6d-b025-95713f21cef9/. Don’t forget to copy it with the trailing slash.
Create Security integration in Snowflake
-
Optional: Set
external_oauth_any_role_mode = 'DISABLE'below if you want your integration to only work with specific Snowflake roles (defined as "scopes" in the first section above). -
Execute this code in Snowflake:
create security integration external_oauth_azure
    type = external_oauth
		external_oauth_any_role_mode = 'ENABLE'
    enabled = true
    external_oauth_type = azure
    external_oauth_issuer = '<AZURE_AD_ISSUER>'
    external_oauth_jws_keys_url = '<AZURE_AD_JWS_KEY_ENDPOINT>'
    external_oauth_audience_list = ('<RESOURCE_ID>')
    external_oauth_token_user_mapping_claim = 'upn'
    external_oauth_snowflake_user_mapping_attribute = 'login_name';
Create Snowflake integration in Deepnote
-
After heading back to Deepnote, create a Snowflake integration as described in our main Snowflake docs.
-
Select Azure AD as the authentication method and fill in Client ID and Client Secret based on
<OAUTH_CLIENT_ID>and<OAUTH_CLIENT_SECRET>defined in the section above. -
Fill in Resource as the
<RESOURCE_ID>of your Snowflake OAuth Resource application from step 7 of the first section. -
Fill in Tenant as the
Tenant IDfrom your Azure AD Overview page. -
Optional: If you set
external_oauth_any_role_mode = 'DISABLE'when creating security integration in Snowflake, you must fill in Role as one of the roles defined as Azure AD scope (just add the role name, without thesession:scopeprefix). -
Lastly, click "Create integration".
Using the the Snowflake integration with Azure AD
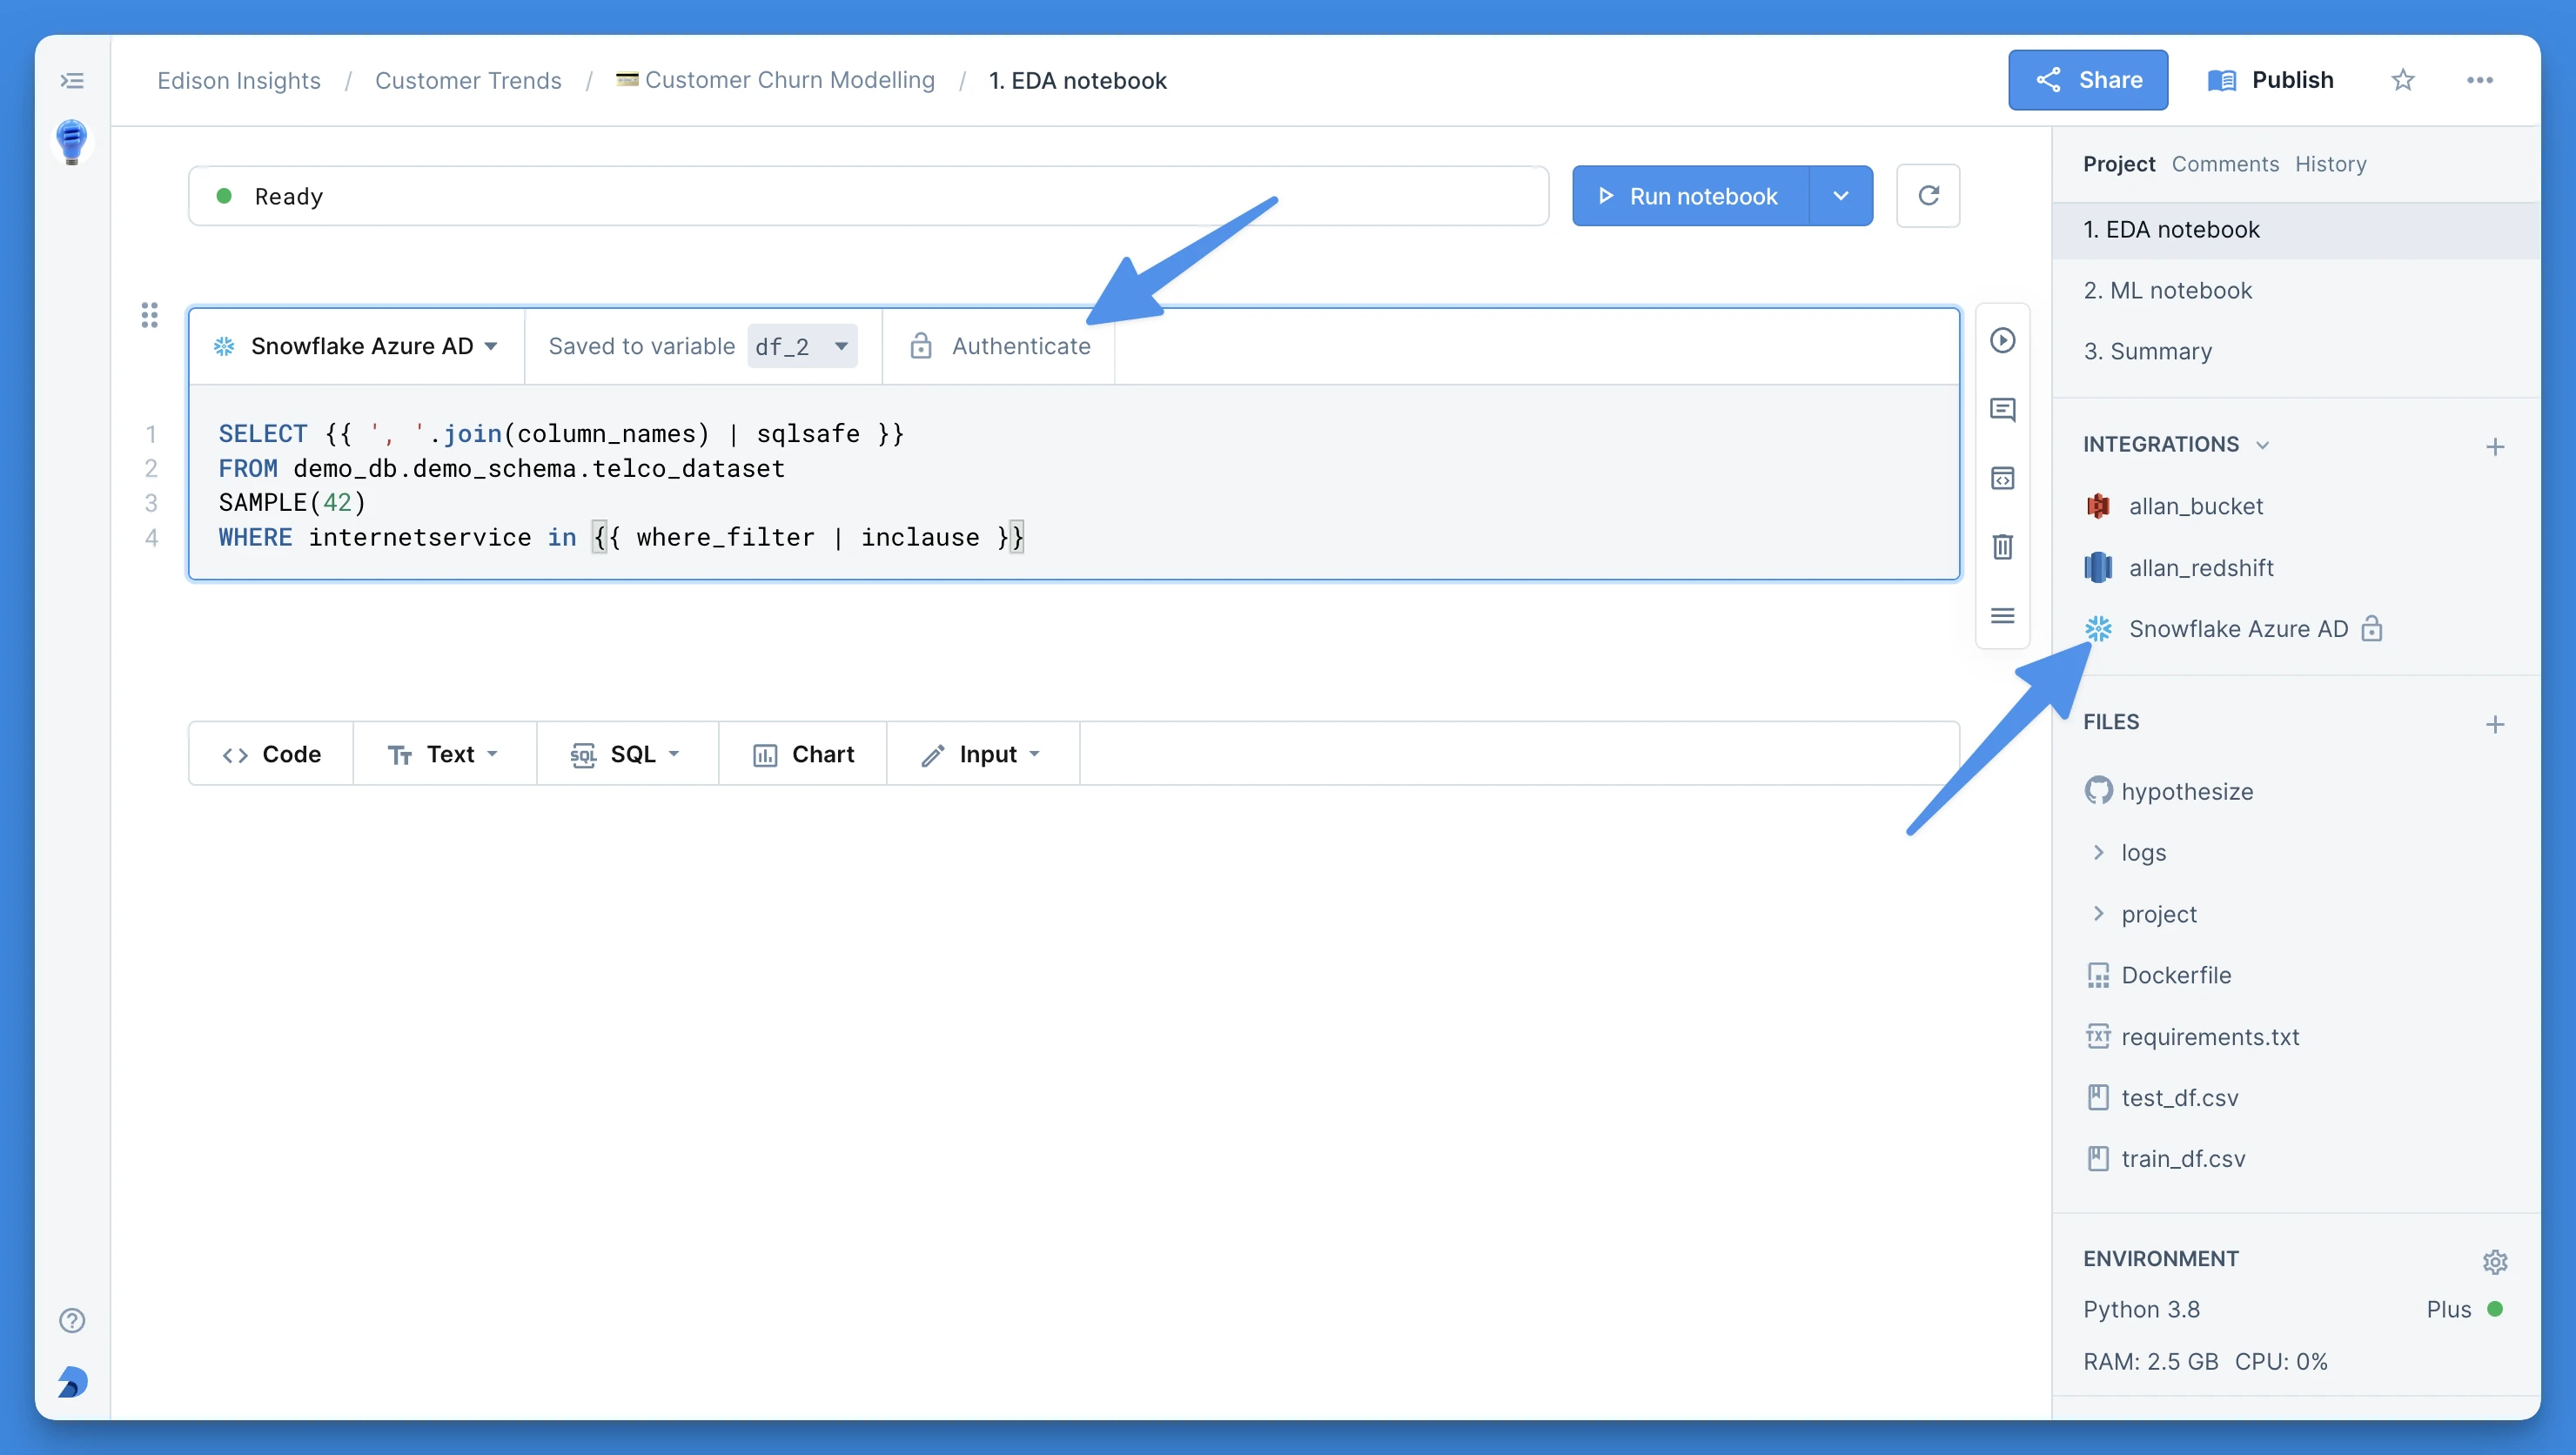
In order to use the integration, every user will have to authenticate using their own Snowflake account. They can do it either by pressing the button on a SQL block with this integration, in the three-dot menu of the integration in the right sidebar, or by responding to a prompt when they execute a SQL block.
When you create an app from a notebook that uses the integration, every app user will need to authenticate with their own account. They will be prompted to sign in using Azure AD during the execution of the app. The results they see will depend on the permissions they have.