Snowflake with key-pair authentication
Deepnote supports Snowflake's Key-pair authentication, allowing you to securely authenticate users with private keys
Greater security with key-pair authentication
Key-pair authentication offers a secure alternative to password-based access when connecting to Snowflake. Deepnote supports two types of key-pair authentication:
- Individual key-pair authentication: Each user has their own key pair associated with their Snowflake user account.
- Service account key-pair authentication: A single key pair is associated with a service account, which can be shared across a team or used for automated processes.
This guide will help you set up and use these authentication methods with Deepnote.
Creating a private and public key pair
To set up key-pair authentication for Snowflake, you'll need to generate both private and public keys using your terminal. These commands work in most Unix-based terminals (macOS, Linux) and in Windows using Git Bash or WSL.
Open your terminal application and execute the following commands:
You have two options when generating your private key - unencrypted or encrypted.
For an unencrypted private key:
openssl genrsa 2048 | openssl pkcs8 -topk8 -v2 des3 -inform PEM -out snowflake_key.p8 --no-crypt
If you prefer an encrypted private key:
openssl genrsa 2048 | openssl pkcs8 -topk8 -v2 des3 -inform PEM -out snowflake_key.p8
Once you have your private key, you'll need to generate the matching public key:
openssl rsa -in snowflake_key.p8 -pubout -out snowflake_key.pub
These commands will create two files in your current directory: snowflake_key.p8 (your private key) and snowflake_key.pub (your public key). The private key will be used when connecting from Deepnote, while the public key needs to be registered with your Snowflake account.
After generating the keys, you might need to copy their contents to use elsewhere. On macOS and many Linux distributions, you can easily copy a file's contents to your clipboard using:
cat snowflake_key.pub | pbcopy
This command reads the public key file and copies its content to your clipboard, making it ready to paste into Snowflake's interface or SQL commands. You can use the same approach with your private key when needed for Deepnote configuration.
Assign the public key to your Snowflake user
After generating both keys, you'll need to register the public key with Snowflake. Open your public key file, copy its contents, and run this SQL command in Snowflake:
ALTER USER [USERNAME] SET RSA_PUBLIC_KEY='-----BEGIN PRIVATE KEY----- MIIEvg...';
Remember to replace [USERNAME] with your actual Snowflake username and insert your full public key. The public key should begin with -----BEGIN PRIVATE KEY-----.
Setting up Snowflake integration in Deepnote
Setting up your Snowflake connection in Deepnote is straightforward. Navigate to the integrations section and create a new Snowflake integration. You'll have two key-pair authentication options:
- Key-pair (individual credentials): Each user provides their own key pair
- Key-pair (service account): A shared service account key pair for team or automated access
Individual Key-pair Authentication
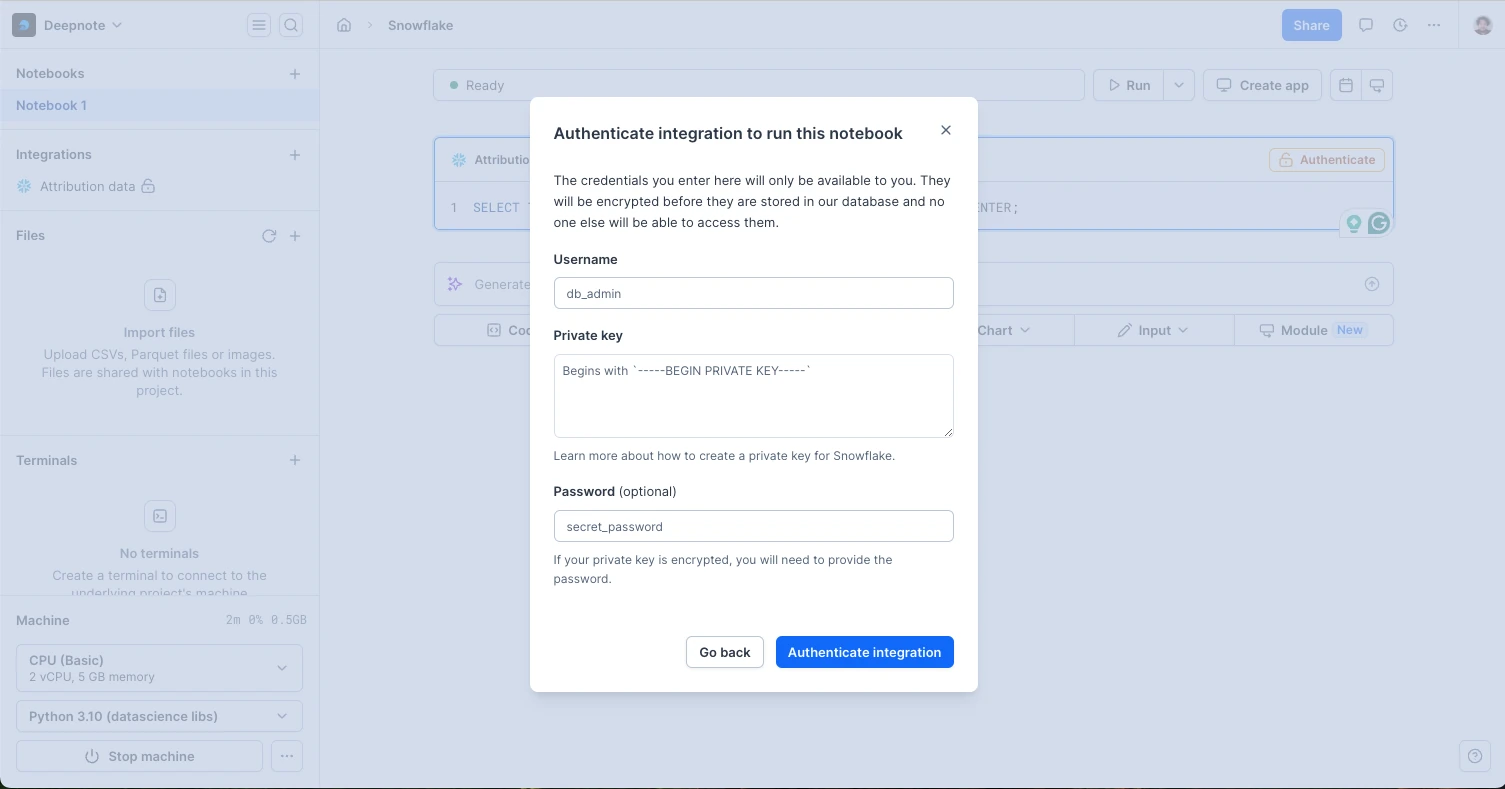
Select "Key-pair (individual credentials)" as your authentication type. At this stage, you don't need to provide your username or private key information.

After creating the integration, you can connect it to your project. When you use the schema browser or run a query against your Snowflake database for the first time, Deepnote will prompt you to enter your username and private key. If you generated an encrypted private key, you'll also see an optional password field where you can enter your encryption password.
Service Account Key-pair Authentication
Select "Key-pair (service account)" as your authentication type. You'll need to provide:
- Service Account Username: The Snowflake username of your service account
- Private Key: The PEM-formatted private key associated with the service account
- Private Key Passphrase (optional): If your private key is encrypted, provide the passphrase
This authentication method is ideal when:
- You want to share a single set of credentials across your team
- You're setting up automated processes or scheduled queries
- You need to manage access through a service account rather than individual user accounts
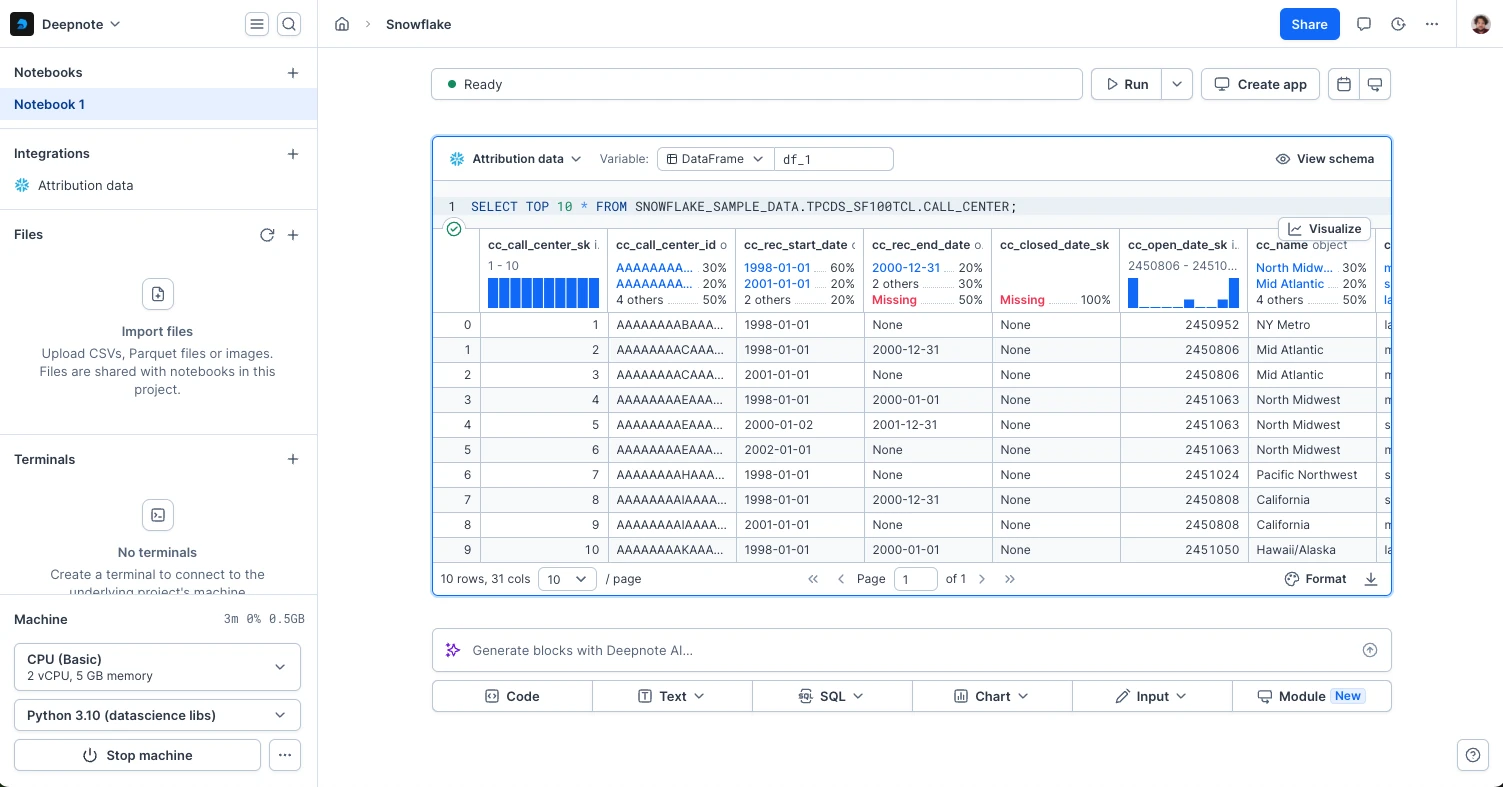
Using your Snowflake integration
With your integration configured and connected to your project, you're ready to work with your Snowflake data in Deepnote. You can write and run SQL queries against your Snowflake instance and explore your data structures using the schema browser. The key-pair authentication happens seamlessly in the background after you've provided your credentials.
Troubleshooting
If you run into connection issues, verify that your private key corresponds to the public key you registered in Snowflake. Also check that your Snowflake user has appropriate permissions and that your network allows connections to Snowflake.
Key-pair authentication enhances your security by eliminating password-based access while maintaining a seamless experience when working with Snowflake data in Deepnote.