Snowflake OAuth
Deepnote allows each user to authenticate to Snowflake using their own credentials.
Greater security with Snowflake OAuth
With Snowflake OAuth you can give every member of your Deepnote workspace their own set of credentials. You can ensure higher security by using short-lived tokens and enabling the use of multi-factor authentication. Follow the principle of least privilege and use granular access control for various Snowflake resources to ensure everyone can only access the data they need.
The integration leverages Snowflake's built-in OAuth service to provide the authentication using a custom client integration.
Creating the integration
This section provides step by step instructions for setting up Snowflake OAuth authentication for use in Deepnote.
-
Please navigate to the Snowflake console (i.e., Snowsight) and create a security integration by running this code:
create security integration oauth_deepnote type=oauth enabled=true oauth_client=CUSTOM oauth_client_type='CONFIDENTIAL' oauth_redirect_uri='https://deepnote.com/auth/snowflake/native-callback' oauth_issue_refresh_tokens=true oauth_refresh_token_validity=86400; -
Run the following code and note the Client ID returned in the output. We will refer to it as
OAUTH_CLIENT_IDin the following steps.describe security integration oauth_deepnote; -
Run the following code to print the Client Secret. We will refer to it as
OAUTH_CLIENT_SECRETin subsequent steps.select system$show_oauth_client_secrets('OAUTH_DEEPNOTE'); -
After heading back to Deepnote, create a Snowflake integration as described in our main Snowflake docs.
-
Select Snowflake OAuth as the authentication method and enter your
OAUTH_CLIENT_IDandOAUTH_CLIENT_SECRETinto the Client ID and Client Secret fields, respectively. -
Lastly, click "Create integration".
AWS PrivateLink
If your Snowflake instance is configured to use AWS PrivateLink, add the suffix “.privatelink” to the account name. For example, in the Snowflake Deepnote integration settings, your account name would appear as abc12345.us-east-1.privatelink.
Deepnote will use the private URL when redirecting users to the SSO screen and the standard URL (without the “.privatelink” suffix) when executing queries and exchanging tokens.
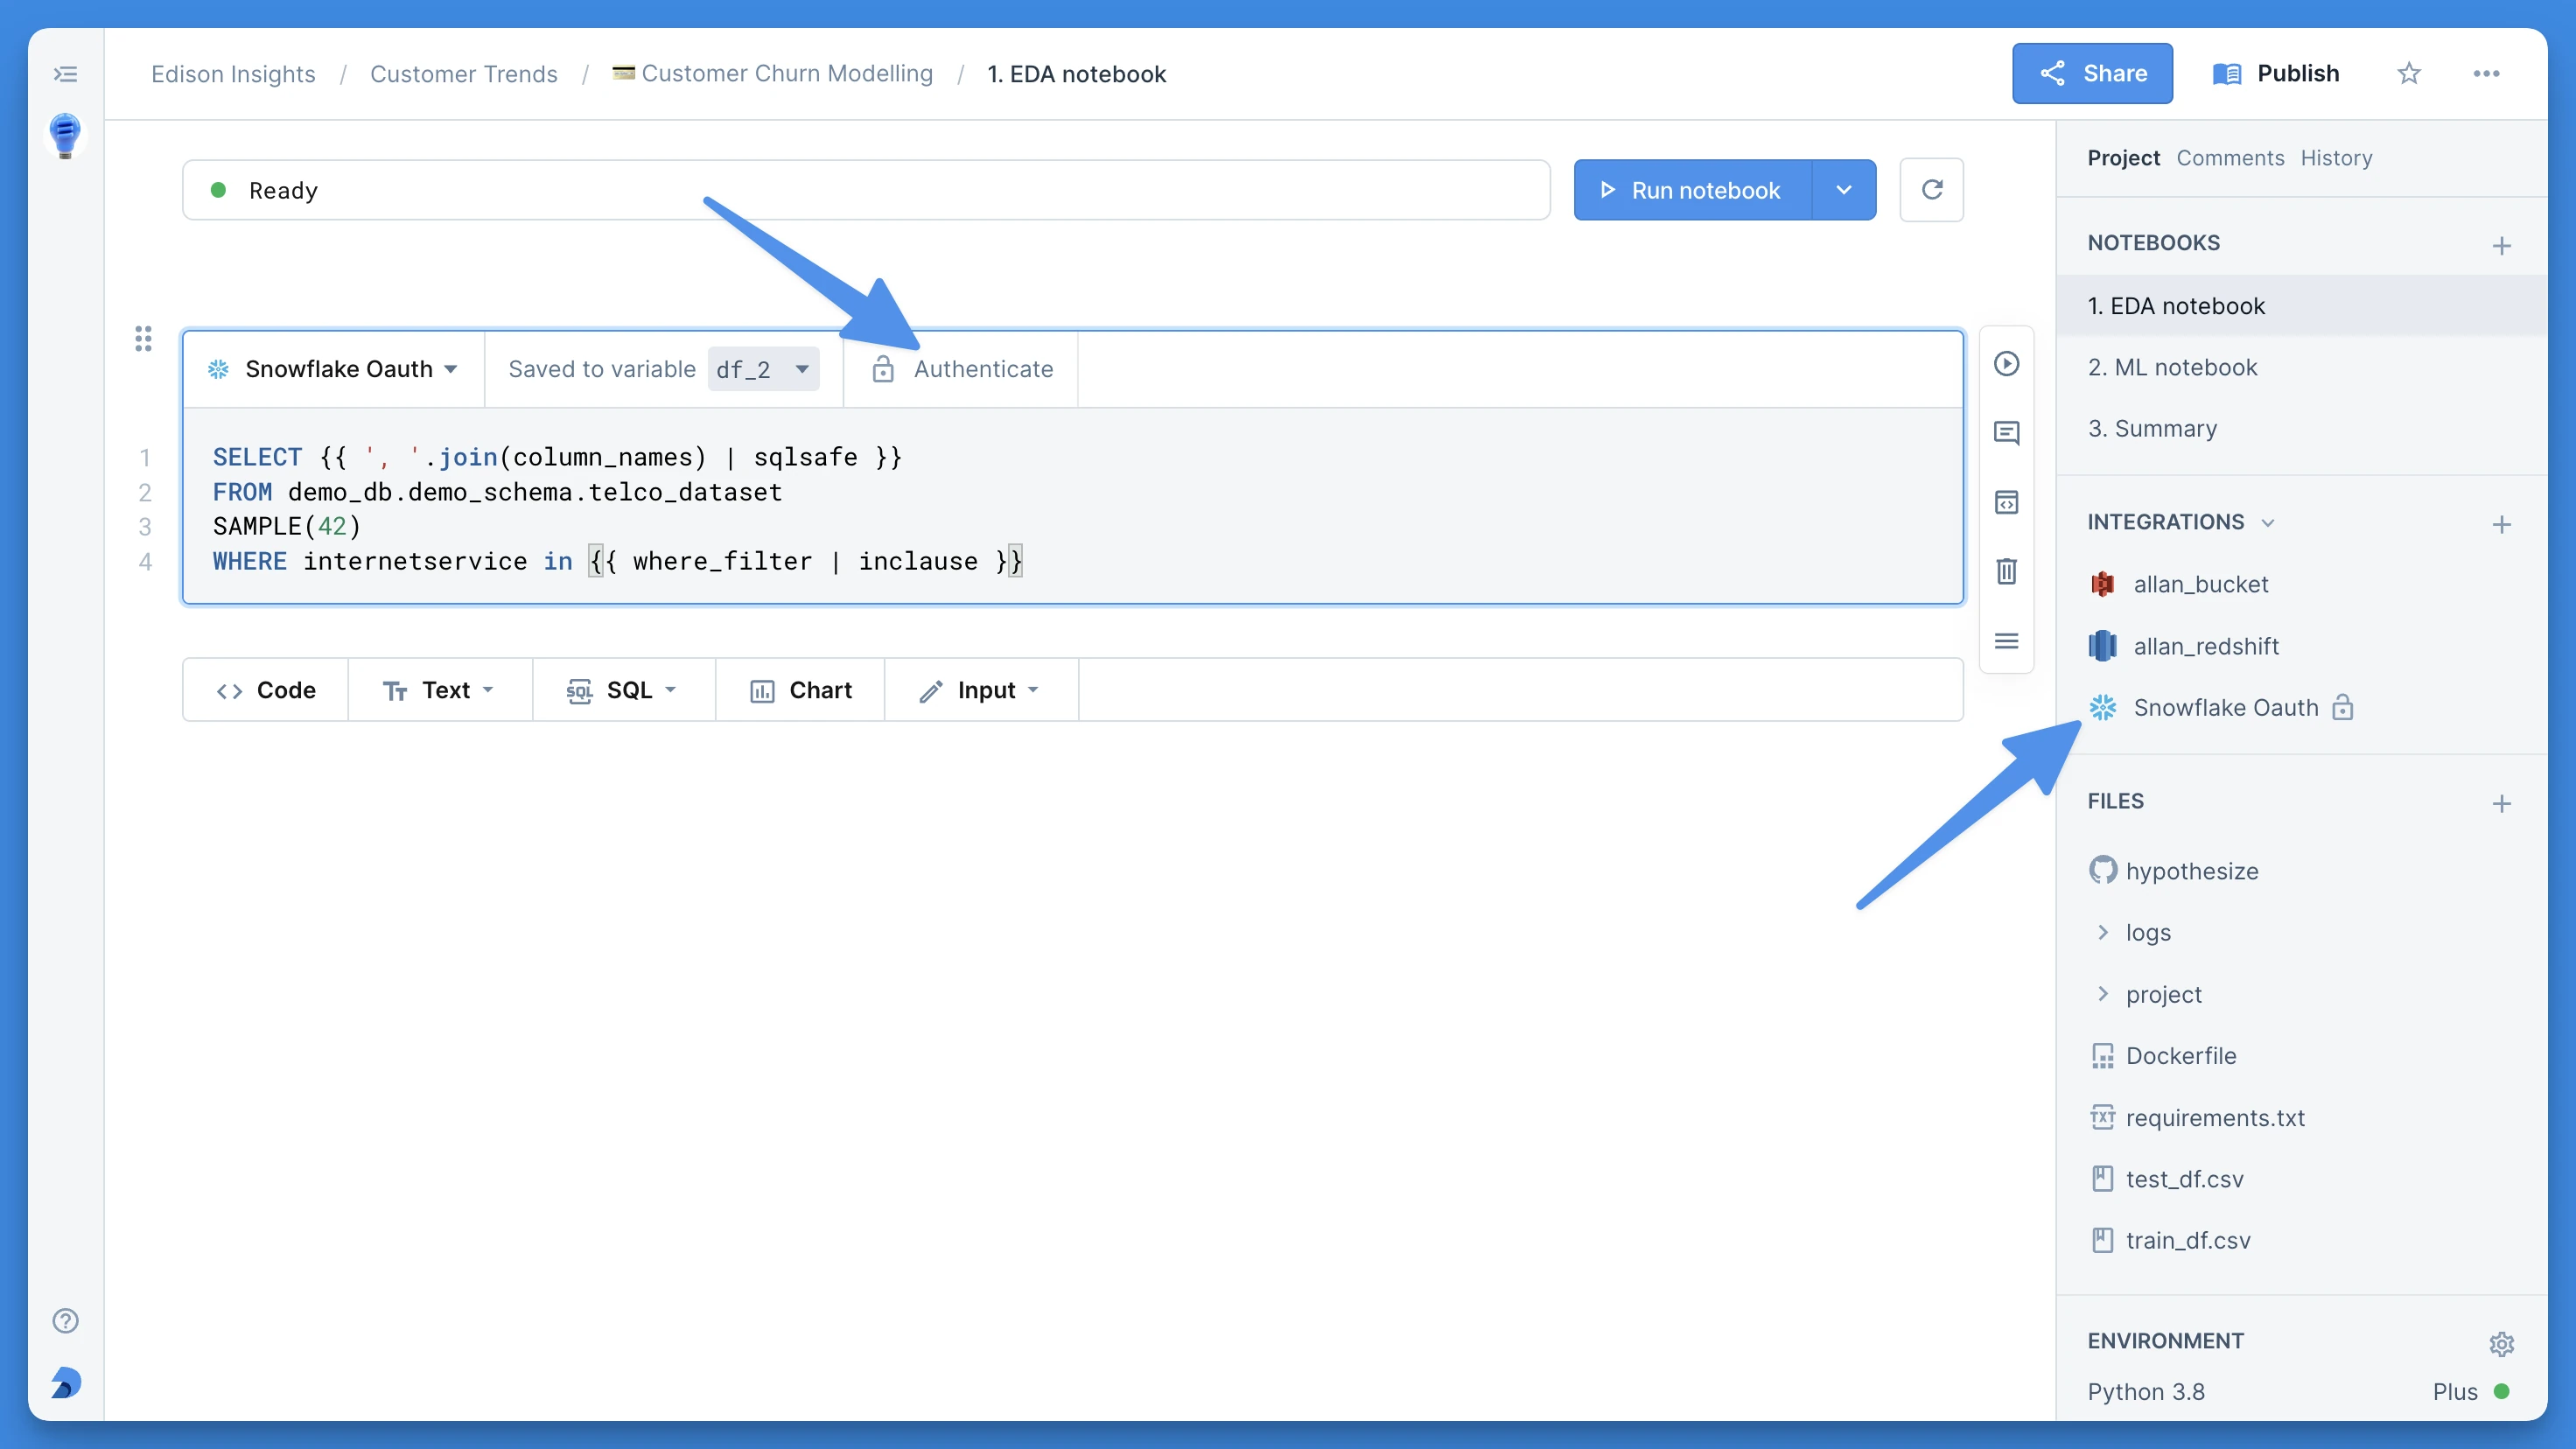
Using the the Snowflake OAuth integration
In order to use the integration, every user will have to authenticate using their own Snowflake account. They can do it either by pressing the button on a SQL block with this integration, in the three-dot menu of the integration in the right sidebar, or by responding to a prompt when they execute a SQL block.
When you create an app from a notebook that uses the integration, every app user will need to authenticate with their own account. They will be prompted to sign in using Snowflake OAuth during the execution of the app. The results they see will depend on the permissions they have.