Deepnote extension for VS Code, Cursor, Windsurf, and Antigravity
Complete guide to the official Deepnote extension for working with Deepnote notebooks locally in VS Code, Cursor, Windsurf, and Antigravity.
Deepnote extension for VS Code, Cursor, Windsurf, and Antigravity
A powerful extension for VS Code, Cursor, Windsurf, and Antigravity that brings Deepnote notebook capabilities directly into your favorite AI-native code editor. Work with slick AI notebooks featuring SQL blocks, database integrations, and reactive blocks.
Available on:
- VS Code Marketplace
- Open VSX Registry (for Cursor, Windsurf, and other VS Code compatible editors)
- GitHub Repository
The Deepnote extension provides:
- Native
.deepnotefile support - Open and edit Deepnote notebooks - Block execution - Run code, SQL, and other executable blocks
- Rich outputs - Display DataFrames, plots, and visualizations
- IntelliSense - Code completion and suggestions
- Git integration - Version control for notebooks
- Local execution - Use your own Python environment
- One-click deploy - Push notebooks to Deepnote.com to build and share data apps with cloud CPU/GPU machines
Installation
From marketplace
-
Open your editor
- Launch VS Code, Cursor, Windsurf, or Antigravity
-
Open Extensions View
- Click Extensions icon in sidebar (Ctrl/Cmd + Shift + X)
- Or go to View → Extensions
-
Search for Deepnote
- Type "Deepnote" in the search box
- Find "Deepnote" by Deepnote
-
Install
- Click "Install" button
- Wait for installation to complete
- Reload your editor if prompted
From command line
# Install using CLI
code --install-extension deepnote.vscode-deepnote  # VS Code
cursor --install-extension deepnote.vscode-deepnote  # Cursor
windsurf --install-extension deepnote.vscode-deepnote  # Windsurf
antigravity --install-extension deepnote.vscode-deepnote  # Antigravity
Verify installation
- Open Command Palette (Ctrl/Cmd + Shift + P)
- Type "Deepnote"
- You should see Deepnote-related commands
Features
Block execution
Deepnote supports a wide variety of blocks including:
- Code blocks - Python code execution
- SQL blocks - Query databases with built-in connections
- Markdown blocks - Rich text documentation
- Text blocks - Paragraphs, headers, lists, and other formatted text
- Charts - Data visualizations
- Input blocks - Interactive widgets like text inputs, date pickers, number inputs, and select dropdowns
You can run a single block by clicking the play button or pressing Shift + Enter. The extension also provides controls to clear outputs and remove all execution results.
Keyboard shortcuts:
| Action | Windows/Linux | macOS |
|---|---|---|
| Run cell | Shift + Enter | Shift + Return |
Rich output display
The extension displays a wide variety of output types including text output from stdout and stderr, interactive DataFrame tables, plots from matplotlib, seaborn, and plotly, images in PNG, JPEG, and SVG formats, HTML content, pretty-printed JSON and dictionaries, and formatted error tracebacks.
Integrations
Integrations allow you to connect to data sources and other tools. To manage integrations, click "Manage integrations" in the top bar or use the "Deepnote: Manage integrations" command.
Supported data sources:
- ClickHouse
- Amazon Redshift
- Amazon Athena
- Google BigQuery
- Snowflake
- Databricks
- Dremio
- Trino
- MongoDB
- PostgreSQL
- MySQL
- MariaDB
- Microsoft SQL Server
- Google AlloyDB
- Google Cloud Spanner
- Materialize
- MindsDB
Your credentials are stored encrypted. We also support enforcing SSL connections and SSH tunnels for secure access.
Using integrations
Once you've created an integration, you can query it from any SQL block in your projects. In a SQL block, click the "Data source" dropdown at the bottom of the block to choose between "DataFrame SQL" or one of your configured integrations.
For BigQuery and Snowflake, you can query cloud warehouses locally using OAuth (federated auth): the extension connects through an OAuth proxy so your queries run against those warehouses from your machine. Some other authentication methods (such as IAM roles) remain available only on Deepnote Cloud.
IntelliSense and code completion
The extension provides comprehensive IntelliSense features including auto-completion for Python code, function signatures with documentation, import suggestions, variable inspection, and type hints. When writing SQL, you also get autocompletion for database table and column names. IntelliSense triggers automatically as you type and pause, or you can manually invoke it by pressing Ctrl/Cmd + Space.
Mixing Python and SQL
One of the things that makes you super productive in a Deepnote notebook is the ability to switch seamlessly between SQL and Python.
SQL results as DataFrames
When you run a SQL block, a DataFrame with the query results is automatically created. You can configure the variable name in the "Variable" input at the bottom of the SQL block, then access it in your Python code blocks:
SELECT
    category,
    SUM(revenue) as total_revenue
FROM
    sales
WHERE
    year = 2024
GROUP BY
    category
ORDER BY
    total_revenue DESC
import matplotlib.pyplot as plt

plt.figure(figsize=(10, 6))
plt.bar(df_1['category'], df_1['total_revenue'])
plt.xlabel('Category')
plt.ylabel('Revenue ($)')
plt.title('2024 Revenue by Category')
plt.xticks(rotation=45)
plt.tight_layout()
plt.show()
Query DataFrames with SQL
You can use the "DataFrame SQL" data source in SQL blocks (which uses DuckDB under the hood) to query DataFrames that have been defined in earlier code blocks:
import pandas as pd

customers = pd.read_csv('customers.csv')
SELECT
    *
FROM
    customers
WHERE
    age >= 30
ORDER BY
    average_spend
Query files with SQL
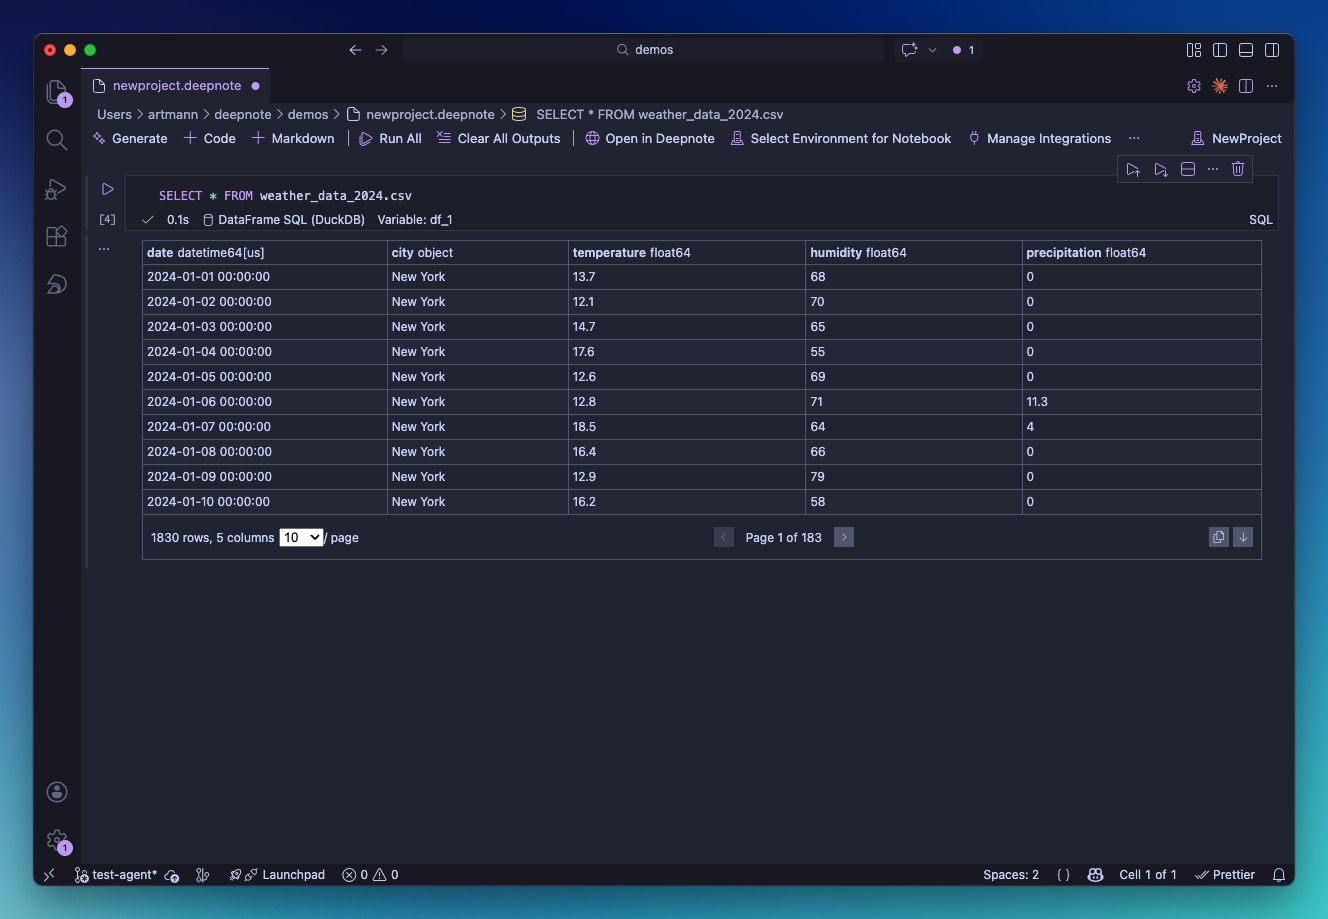
You can also query local files like CSV, Parquet, or JSON directly from a SQL block without loading them into a DataFrame first. Select "DataFrame SQL" as the data source (which uses DuckDB under the hood) and reference the file path in your query:
SELECT * FROM sales_data.csv WHERE region = 'Europe'
File paths are relative to the folder where your .deepnote file is located. DuckDB supports reading from CSV, Parquet, JSON, and other formats.
Jinja templating in SQL
SQL blocks support Jinja-style templating with {{ variable }} syntax, letting you reference Python variables directly in your queries:
selected_year = 2024
min_revenue = 10000
categories = ['Electronics', 'Software', 'Services']
SELECT
    category,
    SUM(revenue) as total_revenue
FROM
    sales
WHERE
    year = {{ selected_year }}
    AND revenue >= {{ min_revenue }}
    AND category IN {{ categories }}
GROUP BY
    category
ORDER BY
    total_revenue DESC
Exporting to different formats
You can export entire projects or individual notebooks to the Jupyter notebook format. To export:
- Right-click on a project or notebook in the Explorer
- Select "Export"
This allows you to share your work in the widely-supported .ipynb format.
Native .deepnote file support
The extension automatically associates .deepnote files with the notebook interface, providing YAML syntax highlighting when viewing the raw file and a structured notebook view for editing. You can work in three different view modes: Notebook View for interactive editing and execution, Source View for raw YAML editing, or Split View to see both views side-by-side.
Viewing raw YAML:
To view the raw .deepnote file structure:
- Right-click the
.deepnotefile in the File Explorer - Select "Open With..."
- Choose "Text Editor"
This opens the file in VS Code's standard text editor with YAML syntax highlighting, allowing you to inspect or edit the underlying file structure directly.
Configuration
Extension settings
Access the extension settings by navigating to File → Preferences → Settings (or pressing Ctrl/Cmd + ,) and searching for "Deepnote".
Python environment
You can create and manage Python environments using the "Environments" panel. When creating an environment, you choose which Python interpreter to use and specify which packages need to be installed. The extension creates a virtual environment that can be reused across notebooks and projects. You can also point the extension at an existing virtual environment instead of creating a new one.
The Deepnote extension brings powerful notebook capabilities to your local development environment, combining the flexibility of Deepnote notebooks with the robust editing features of VS Code, Cursor, Windsurf, and Antigravity. Whether you're executing code or viewing rich outputs, the extension provides a seamless experience that enhances your data science workflow.
Links: